
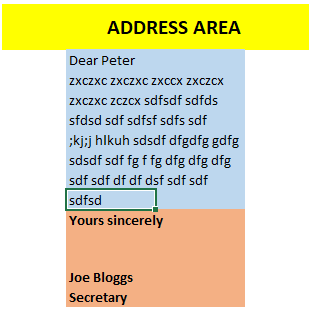
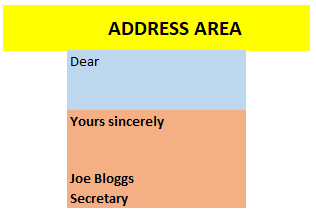
Using the example of a personal letter-heading:
First of all, understand that we are going to save the document in the Template format, not the default Document format. Then we need ensure that we save to a location that Word understands and can display for you in its File>New dialog.
By default, no meaningful folder is set for this but it is needed in order to organise you personal, templates. It is a once-and-for-all setting.
Where to put them? - type %appdata%\Microsoft\Templates\ into
the search box (circle icon, next to the Start button) then, after File
Explorer opens, then copy the address that's displayed in the File Explorer
address bar. Now , in Word, click File > Options > Save,
and then paste the address into the Default Personal Templates Location box.
When you have done this, the next step is simplified.
I have given a strong clue in the title!
Select File>SaveAs and select the default folder offered, then in the Save as Type, select "Word Template *.dotx". As soon as you do that step, notice that the address in the bar at the top has changed to the newly-set location. Click Save and you are done!
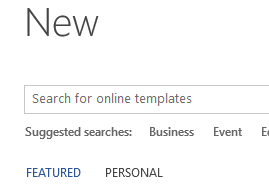
Select File>New, and in the dialog select PERSONAL rather than the default FEATURED and there is your personal template in all its glory.